
Getting creative with your beans… Use and reuse!
At this point in time polystyrene beans used in bean bags are non-biodegradable and when let loose in the environment can be harmful to wildlife and ecosystems. So here are some tips on how to get the most out of your beans…
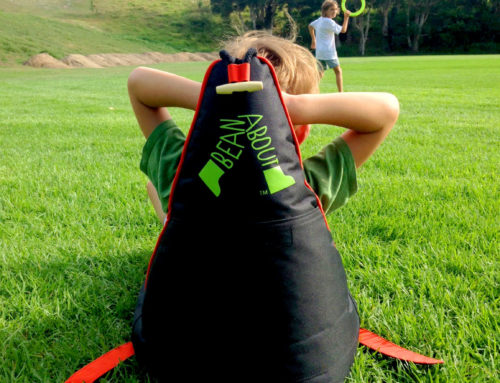
Beanbags
After filling your bag with new beans keep your left over beans so that you can top your bag up when needed as the beans will compress a little over time.
Please note that a topped up bag is just as comfy! So no need to get new ones! You can use again and again on any subsequent bags.
Growing plants
Other ways of using your beans can be putting them to use in a worm farm or to use with good soil to grow plants as they are non toxic.
Kids pillow pets and cushions
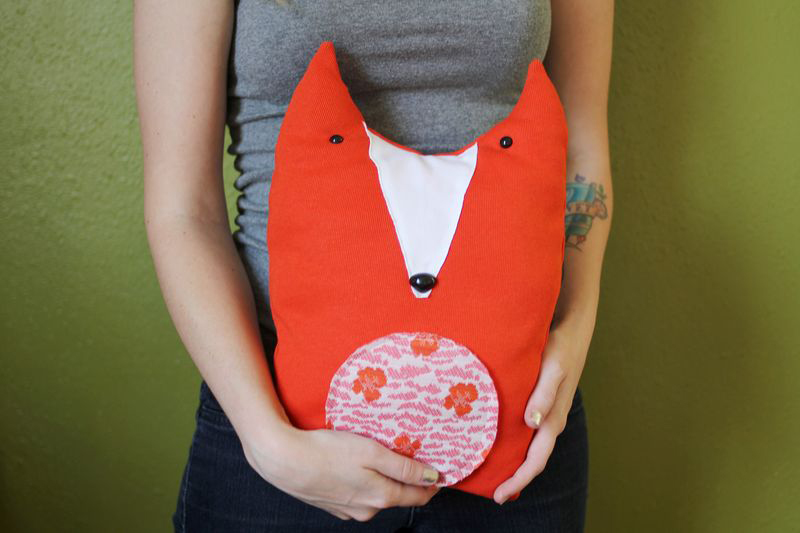
A cushion like this is something you can make with even the most basic sewing skills.
This is how you do it…
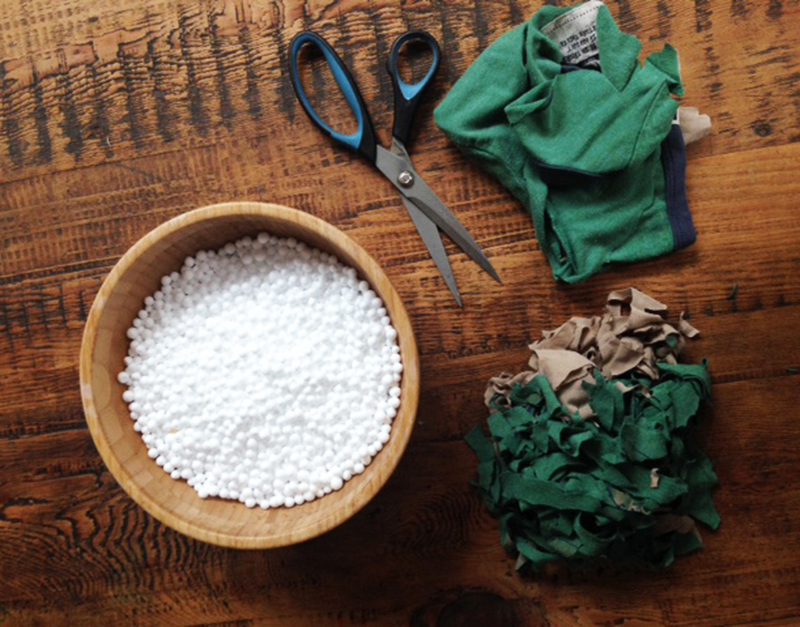
Make your recycled filling:
To reuse your beans for a cushion you can add a 40% mix of another recycled filling for a bit of weight. We suggest up-cycling your old clothes by cutting them into little bits and mixing them in. Cottons, woolens and natural fibres are perfect.
Plush fox steps:
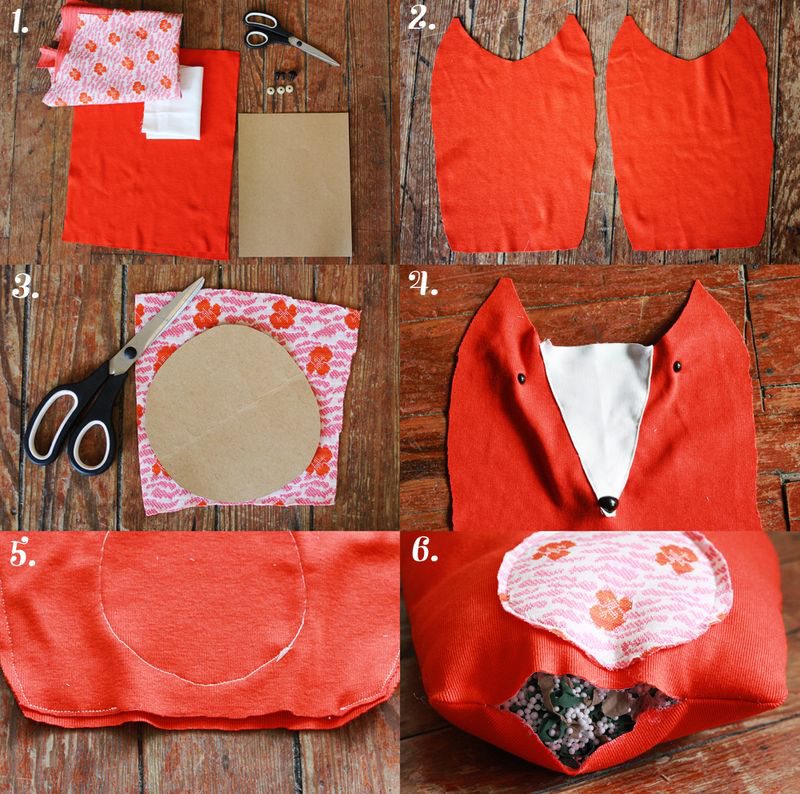
- 1. Supplies Needed- Simple solid, print, and white cotton fabric, scissors, card stock, plush stuffing, sewing machine/needle and thread and child safe snap on button eyes and noses. (You can find them in the doll section at your local craft store.)
- 2. Cut out the back and front of the fox. We made ours an estimate 1×2 ft.
- 3. Cut out and trace a circle from card stock on the back of your patterned fabric. This will be for the fox’s belly!
- 4. Next, sew on a triangle shape for the snout with the white fabric. For the eyes and nose, make a tiny hole with scissors, poke the eyes and nose through and secure it with the back snap.
- 5. After you’ve sewn on the snout, sew on the belly! You’ll always want to sew on the snout first, guaranteeing that the belly won’t be too high or too low.
- 6. Once you’ve decorated the front, place both sides together with the outsides facing in and sew them together, leaving a small gap at the bottom. After you’ve sewn your fox together, flip him inside out and fill with your recycled filling! Last, hand stitch the opening. On a safety note make sure that you sew the opening well so that none of the filling can come out or you could even make an inner sleave first so that you can pop the outer sleave in the wash.
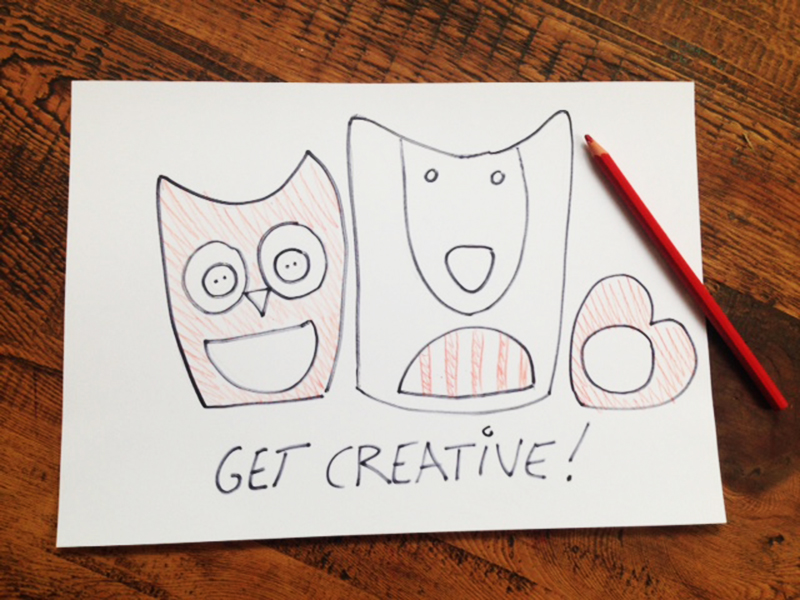
So now that you know the technique there’s no reason why you can’t make up your own designs and have loads of fun.
Inspiration for this story is from…
http://www.abeautifulmess.com
Leave A Comment